By: Otaiba Ahsan
Many compare owning a Tesla to having a phone or any other piece of tech, as the car relies heavily on its software features. Like any tech product, it’s key to have stable internet connectivity when needed, whether it’s for software updates or to use other capabilities of the car. Continue reading for steps on how to connect your Tesla to a Wi-Fi network.
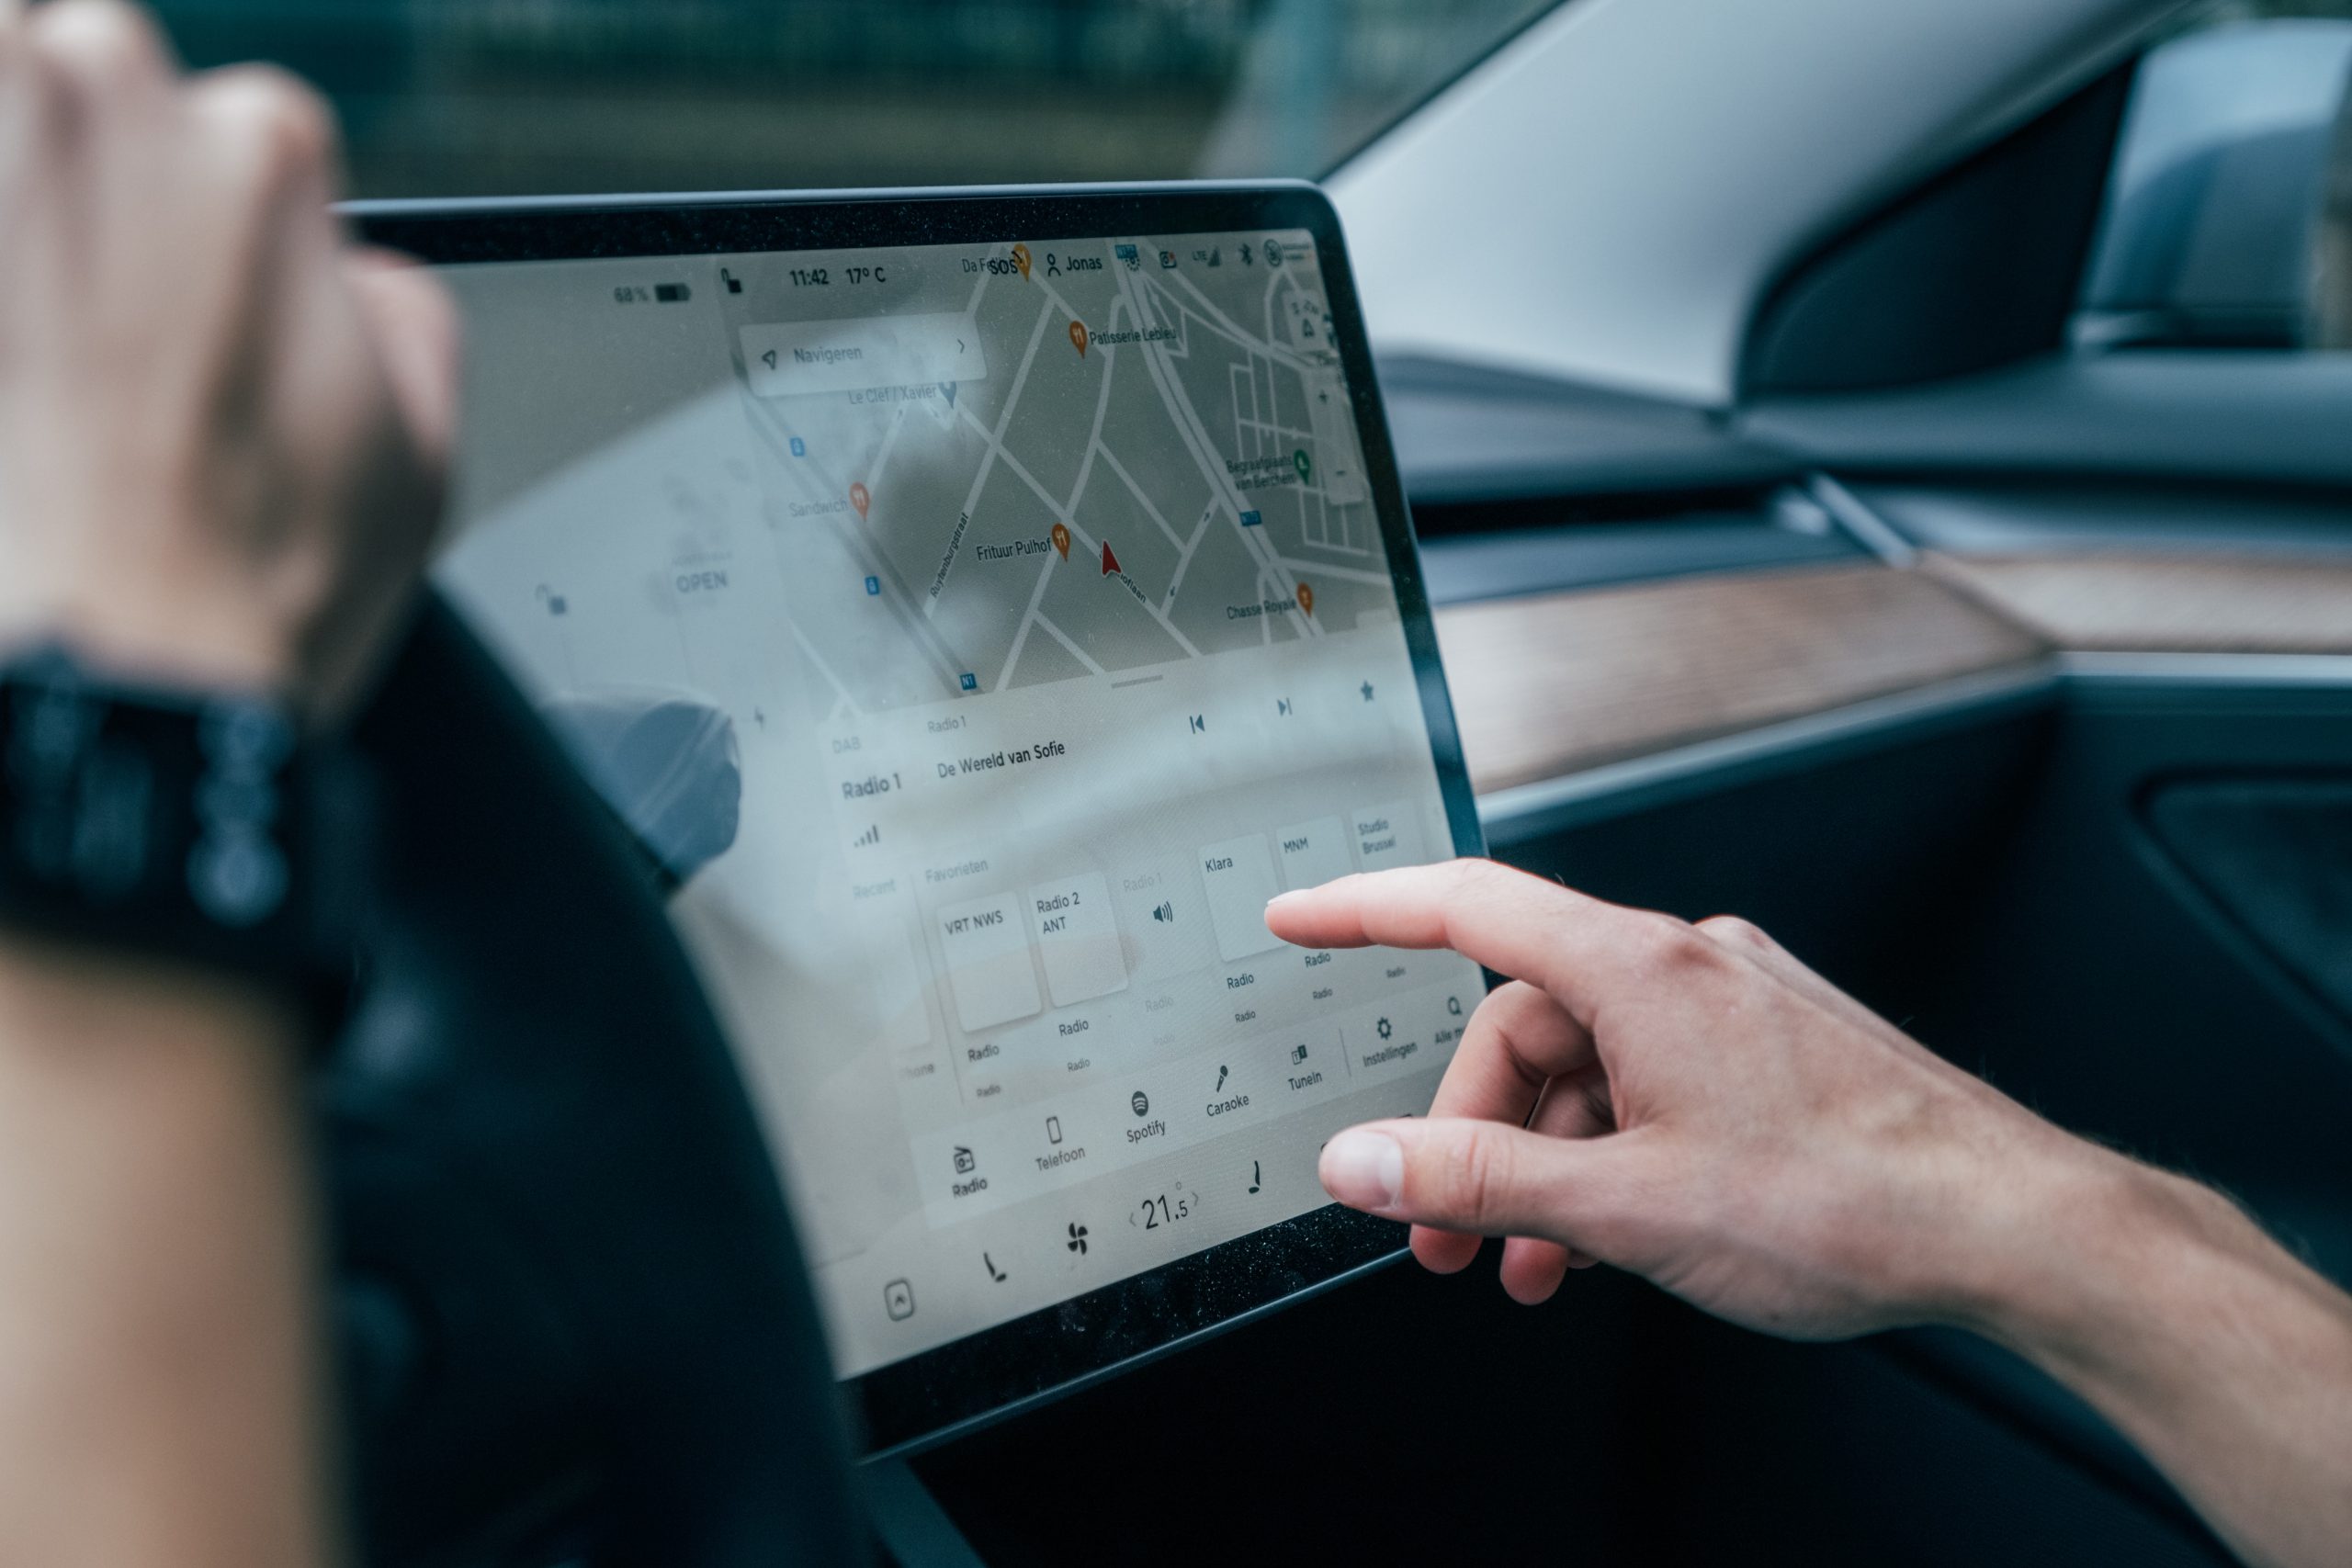
Why Connect to Wi-Fi?
Software updates are made available several times throughout the year, and any Tesla vehicle is required to be connected to Wi-Fi to make the update. This is the primary reason why it’s critical to be linked to a network, whether it’s at your primary residence or elsewhere. Tesla Maps also updates when connected to either Wi-Fi or Cellular. It’s best to have the most recent maps for an ideal navigation experience.
Also, if you don’t have Tesla Premium Connectivity and would like to use any apps available in the car that require internet, such as Netflix, then you need to connect. Lastly, it’s best to get on a Wi-Fi network when you’re in areas with limited to no cellular connectivity if you’d like to do any of the aforementioned things.
How to Connect to Wi-Fi
The steps on how to connect to Wi-Fi are simple. When in your car, follow these instructions:
- Tap Controls and then hit the Wi-Fi icon at the top of the screen. All available networks that are within range will then be displayed. If you’re already connected to a network, the Wi-Fi icon will display at the top of the screen, and you can directly tap that instead.
- Select the one that you’d like to use, then enter the password if necessary. Once complete, hit Confirm.
- Whenever your Tesla is in range of the network, it will automatically connect for your convenience.
TIP: If a known network doesn’t appear in the list, then move your car closer to the access point, or consider using a range extender such as a Nest System. Many owners will put a Wi-Fi access point in their garage or close to their driveway so that their Tesla can connect with ease.
NOTE: You can also connect to a hidden network that isn’t shown on the list of scanned networks. This can be done by tapping Wi-Fi Settings and entering the name of the network in the resulting dialog box. You can then select the security setting, and then Add Network.
Hotspots and Connectivity
If you’re desperate for internet connectivity and can’t get it at your primary residence where you park your Tesla, there are a few solutions available. For example, owners who park underground may struggle with keeping their software and maps up to date since they can’t regularly connect to Wi-Fi. Here are some ways around this:
- Phone Hotspot: If you have enough mobile data, then enable its hotspot, and connect your Tesla to complete the update.
- Public Wi-Fi: Most McDonald’s or Starbucks have free Wi-Fi. Find one with its own parking lot and you can do the update from there.
- Family or Friend’s Driveway: You can always count on a friend or family. Reach out and see if you can use their place’s Wi-Fi to complete your Tesla’s update.
The Bottom Line
The steps on how to connect your Tesla to a Wi-Fi network are simple. When in your vehicle, tap Controls and then hit the Wi-Fi icon. Select the one you’d like to connect to, enter the password if necessary, and then hit Confirm. Once you’ve successfully completed the first two steps, your Tesla will automatically connect whenever the network is in range.