By: Otaiba Ahsan

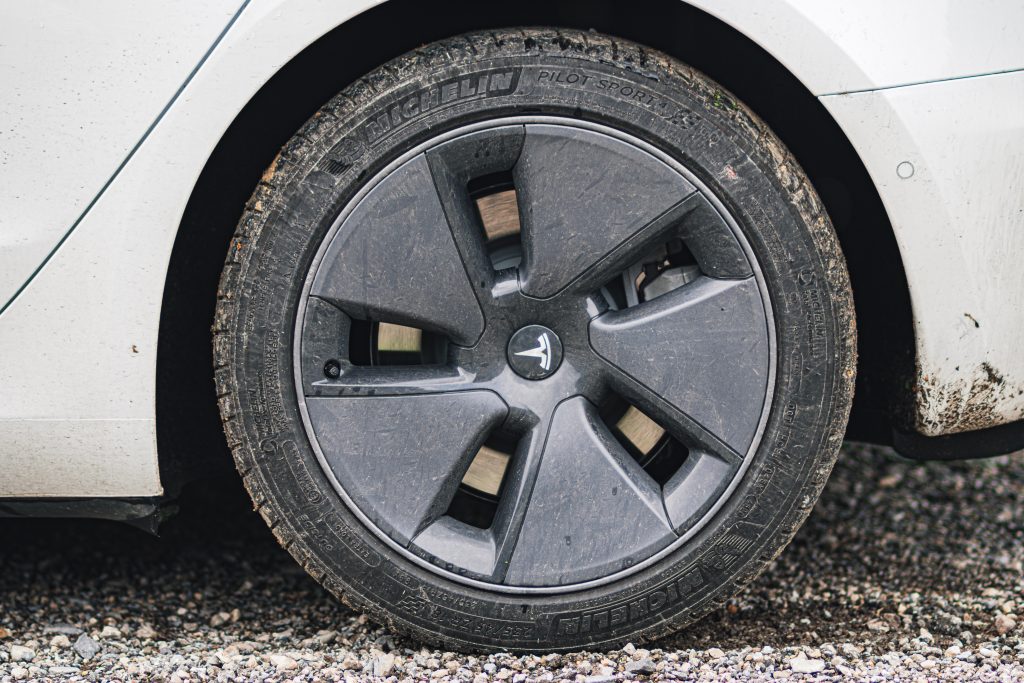
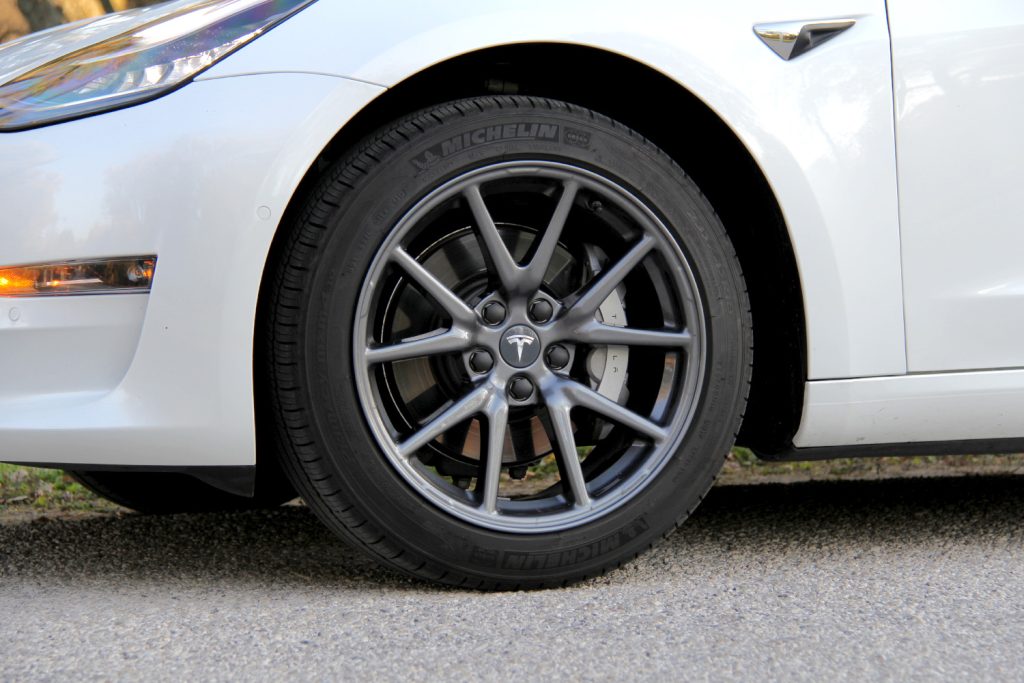
If you purchased a Tesla Model 3 brand new, you probably remember deciding between the 18” Aero Wheels or the 19” Sport Wheels. For those who paid close attention, you’ll have noticed that there’s a range reduction of about 18 mi if you go with the sport wheels. This is because the 18” wheels come with aero covers, which help make the car more aerodynamic. However, many people don’t like the look of these covers, so they take them off. Continue reading for steps on how to take aero covers off a Tesla Model 3.
How to Take Aero Covers Off
Taking the aero covers off your Tesla Model 3 is quite simple. It can be done in a few short steps:
1. Ensure you’re in a safe environment and your Tesla is in park.
2. Begin by firmly holding the aero cover using both hands, make sure your hands are behind the cover and that you’re not grabbing the aluminum rim underneath. Gently tug the cover towards yourself all around the wheel. You’ll hear it make some noise as it begins to loosen, which means it’s coming off the latch.
3. Once it’s loose, pull the aero cover one more time with both hands to fully detach it from the retaining clips. It may take a few tries but take your time and it will come off with ease. Repeat these steps for the remaining three tires.
TIP: Be gentle but maintain a firm grip when removing the aero covers. Don’t pull right away without attempting to loosen it first, otherwise you might damage the cover or latching system.
NOTE: If you’re having trouble, Tesloid has a useful tutorial on how to take aero covers off your Tesla.
Once you’ve successfully removed the aero covers you can do one of three things. The first option is to leave the tires as is. However, our recommendation is that you either put on aero wheel caps or a new, better-looking aero cover which will also help retain some efficiency.
Putting on Aero Wheel Caps
Once your wheel is exposed, it’s a good idea to get an Aero Wheel Cap Kit which will help improve the look of your car and also protect your center cap and lug nuts. The kits typically come with designed center caps to put on the middle of each wheel, as well as caps to cover the lug nuts.

The Aero Wheel Cap Kit from Tesloid comes with a set of 4 center caps and 20-lug nut covers. The caps have the infamous Tesla “T” logo which compliments the overall look of the car. This set also has a removal tool for the caps and lug nut covers, which is useful if you want to switch between having an aero cover or not. The kit helps add to the sleek look of your Tesla, as the aluminum plated caps are made to compliment the alloy rims. The logo shouldn’t fade or erase no matter how harsh the driving environment gets.
Installing a New Aero Cover
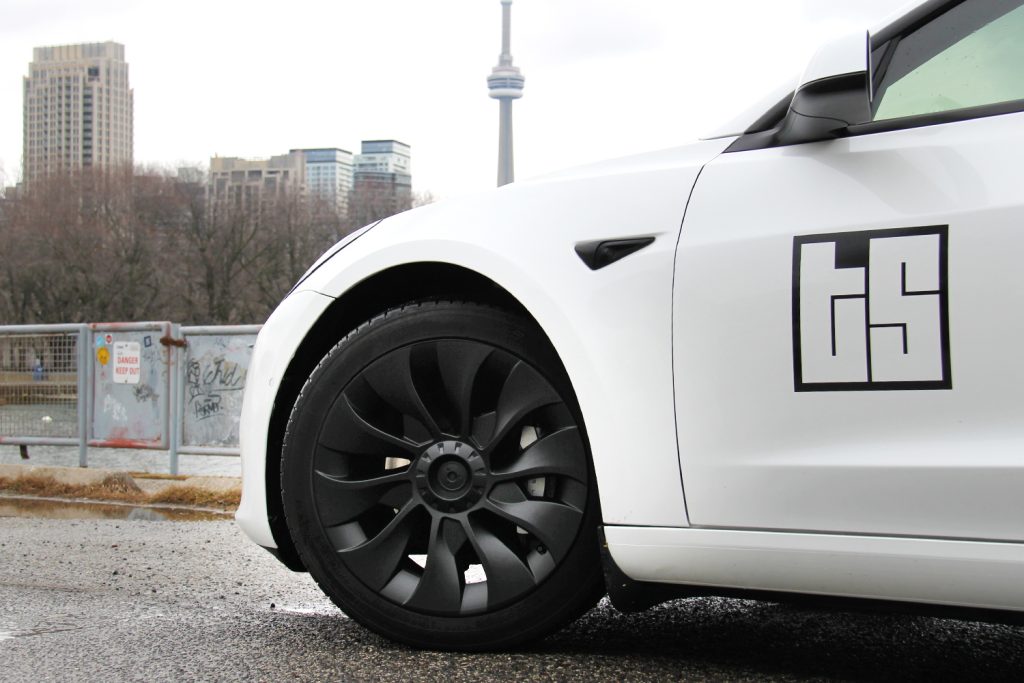
If you still want an aero cover but aren’t a fan of the OEM ones from Tesla, then it could be worth looking at Model 3 Induction Wheel Covers. They can add style to your car’s look while also providing protection to your wheels. Also, if they have an aerodynamic design, it’ll help add some range to your Tesla compared to when there’s no aero cover attached.

Tesloid’s Model 3 Induction Wheel Covers are easy to install, have a great look and help protect your wheels. They’re a perfect replacement option for the OEM wheel covers, and they will instantly give your car a sportier look. When purchased, you’ll get four covers, foam tape, center cap sticker logos and covers to store your OEM aero wheel covers. The installation can be done with these steps:
1. Follow the instructions earlier in the blog to remove your existing aero wheel cover. If you have any center caps and lug nut covers, they must be taken off prior to installation.
2. Grab the foam tape and peel it so that the adhesive side is present. Apply tape as close to the edge of your new induction wheel covers as possible on the backside. Once you’ve gone around the entire wheel, use scissors to cut any excess tape. You can also find a great visual tutorial we’ve created for this step.
3. Examine your cover and identify where the air valve cut is. Next, line it up against the wheel and match the air valve cut to ensure your orientation is correct.
4. Apply force to all areas around the cover using your palm, if you’re hearing clicks then you know it’s being locked into place and that your installation is correct.
5. Peel off the red side of the center cap covers to expose the adhesive. Align it with the center of your wheel and apply pressure until it’s firmly in place. Repeat steps 1-5 for all four wheels and you’re done!
The Bottom Line
How do you take aero covers off a Model 3? The steps are extremely simple, and there are some great alternatives to the OEM aero wheel covers. This includes Aero Wheel Cap Kits as well as Model 3 Induction Wheel Covers. Both will help add to your Tesla’s sleek design while also protecting your wheel.
